Setup MYIO
Getting Started
If you need a portal account and are an existing or new patient
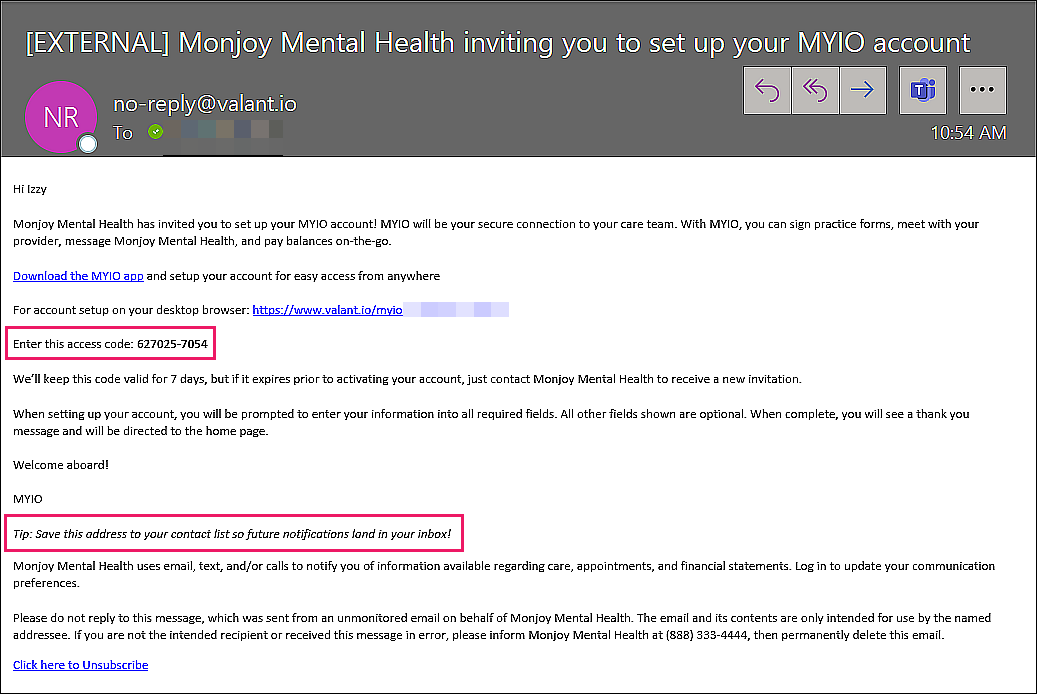
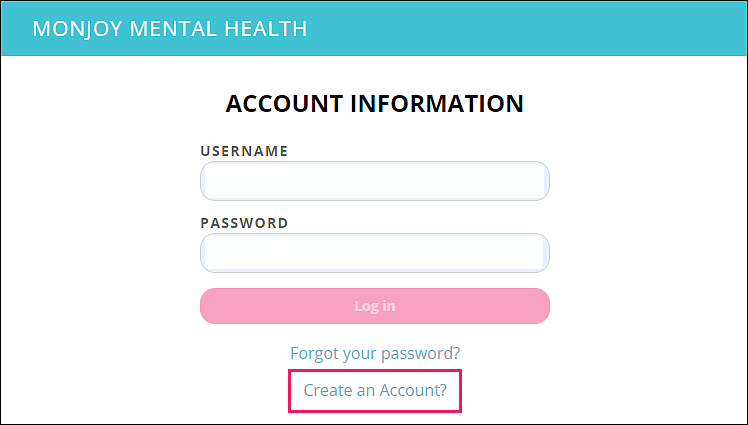
navigate to practice portal URL, click link for “account setup on your desktop browser” from invite email. Click on ”Create Account” and enter the access code found in your Invite to MYIO email/text. If you did not receive an invite, contact your practice and they can send you one!
Click “Create an Account” and enter the access code from the email to get started.
The access code will expire after seven days.
Sample email:
If you are using a browser, the practice name will be displayed at the top of the screen. The browser URL is unique to each practice.
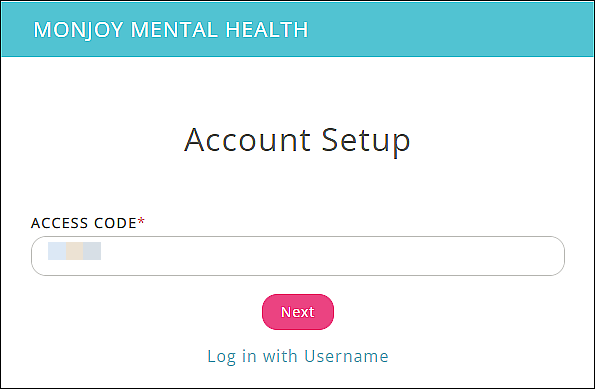
Verify identity using birthdate validation
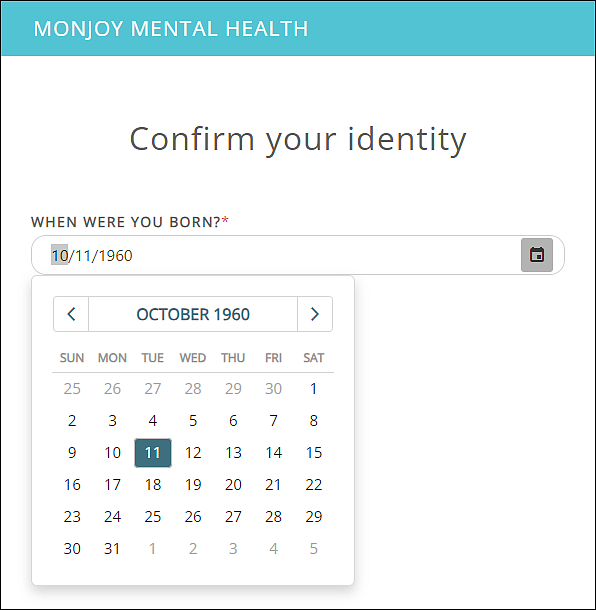
After successfully entering your birthdate and clicking next, you will see the “Account Setup” screen.
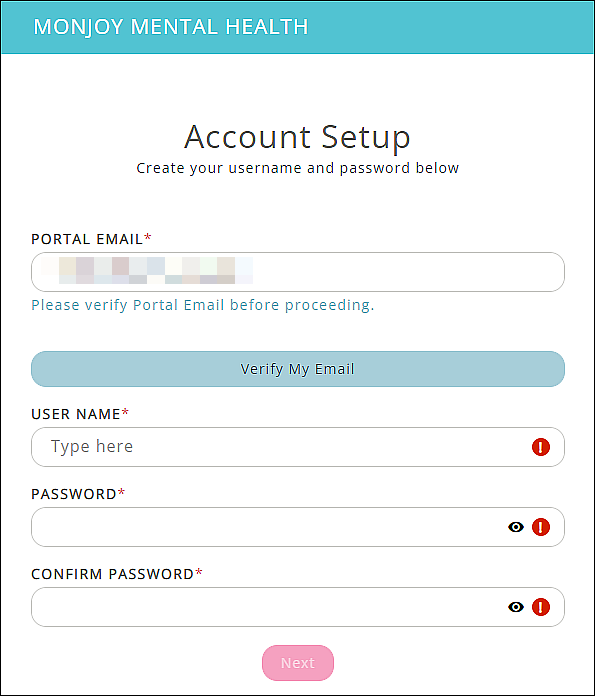
Account Setup
- Enter a portal email with an email address that only you can access
- Click “Verify My Email”
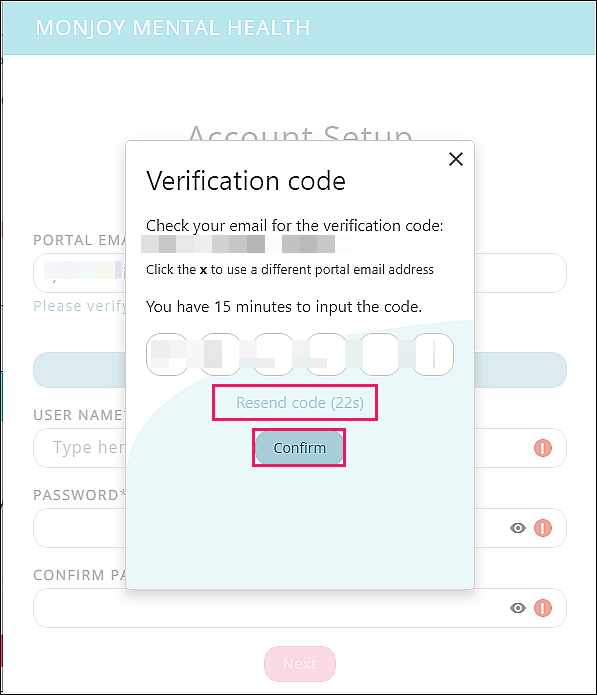
- Enter Verification code from email – resend code link will become available if needed after the countdown
- Click “Confirm”
The portal email is used to reset your MYIO Password or to receive any communication regarding updates, messages, or shared documents available in your MYIO account.
- Choose user name
- Choose password – eight or more characters, one uppercase, one lowercase, one number or special character
- Confirm (retype) password
- Click “Next”
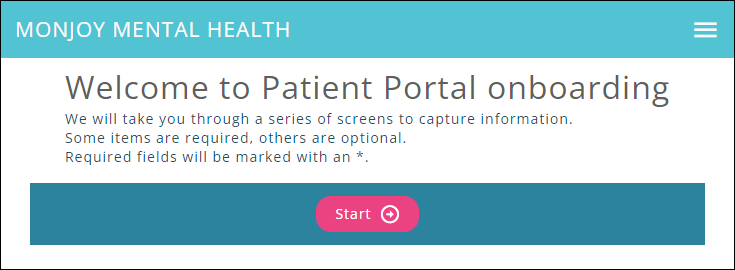
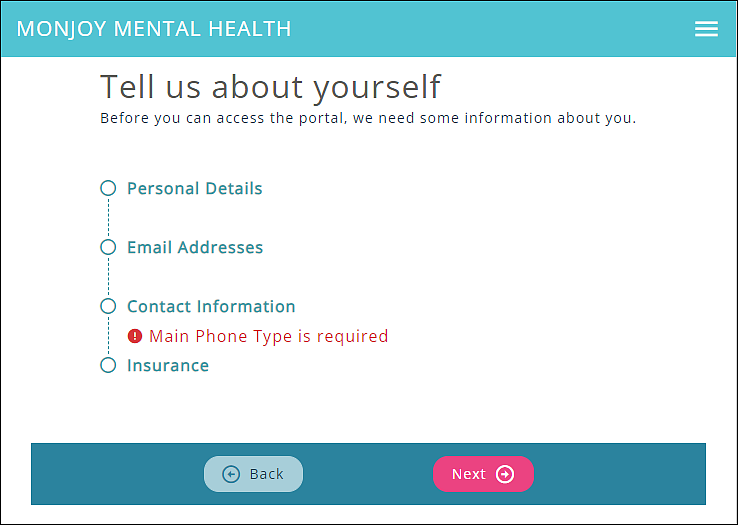
Onboarding For New Patients
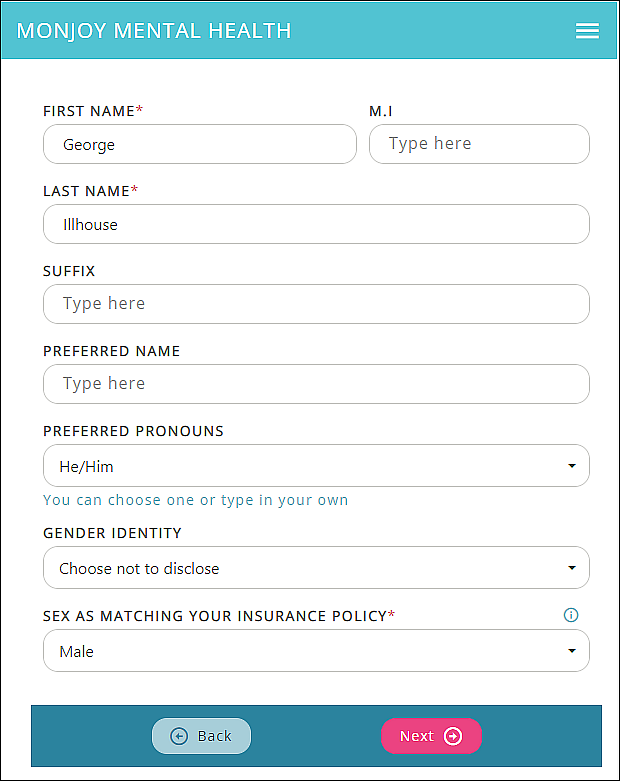
Enter personal details (* required fields)
Depending on practitioner configurations, these fields may vary. You can always view and edit any information that’s been entered in your patient record in your “My Account” section of MYIO.
- First Name*
- Middle Initial
- Last Name*
- Suffix
- Preferred Name
- Preferred Pronouns
- Gender Identity
- Sex as matching your insurance policy
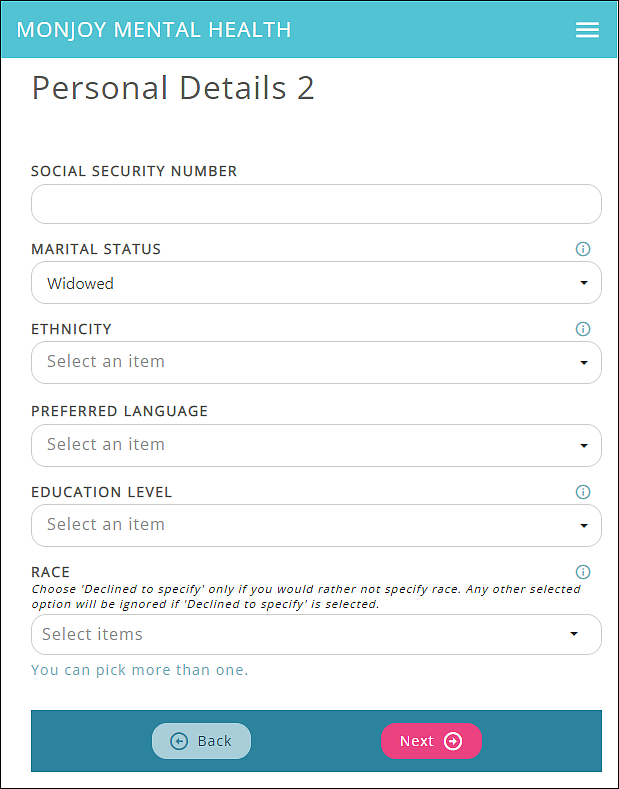
Scroll down until each field is filled:
- Social Security Number
- Marital Status
- Ethnicity
- Preferred Language
- Education Level
- Race
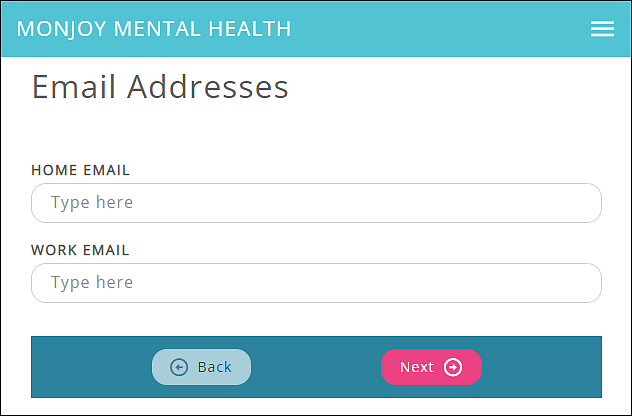
Enter Email Addresses and Contact Information
The home or work email can be the same as the portal email already verified.
Enter Email Information
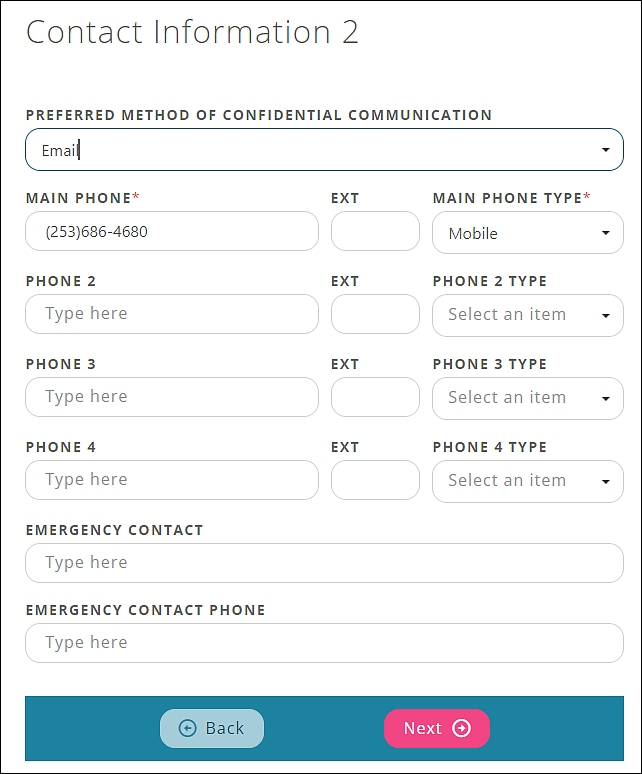
Fill out Address and Preferred Contact Information fields.
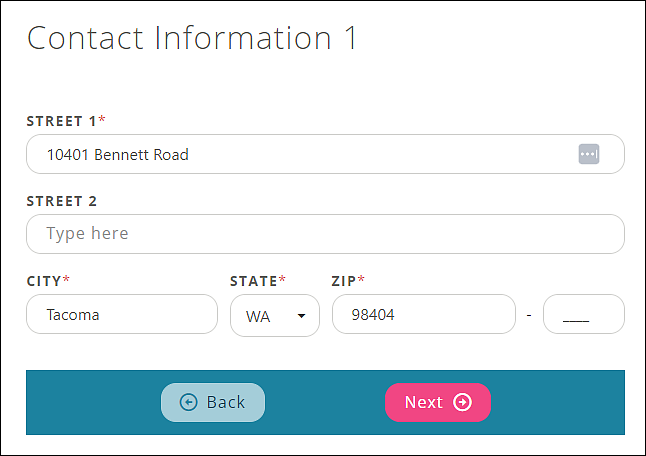
Browser users may use the back button to update previously entered information during the onboarding process.
You will see any updates made to your account once the practice verifies them.
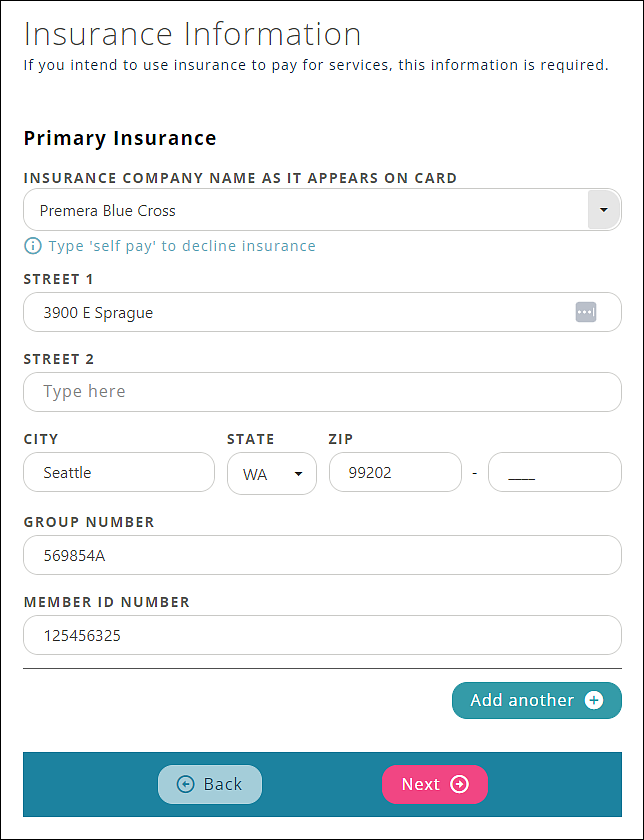
Enter Insurance Information
(dependent on practice settings)
Enter Credit Card Information
(dependent on practice settings)
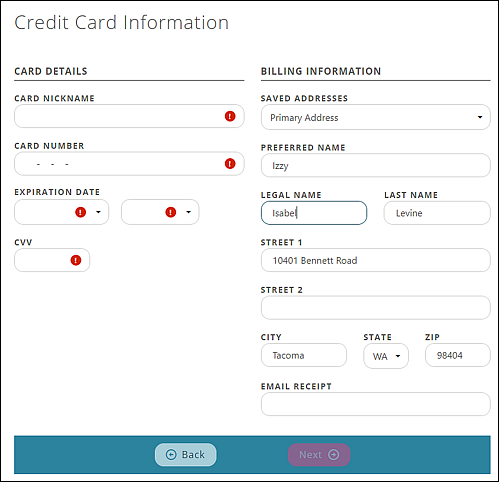
The credit card information will show under “Billing” once initial account information is completed.
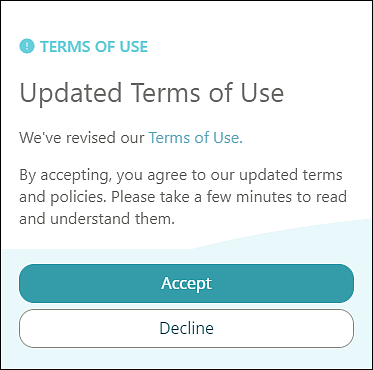
Accept Terms of Use
Review the linked information and click “Accept”
